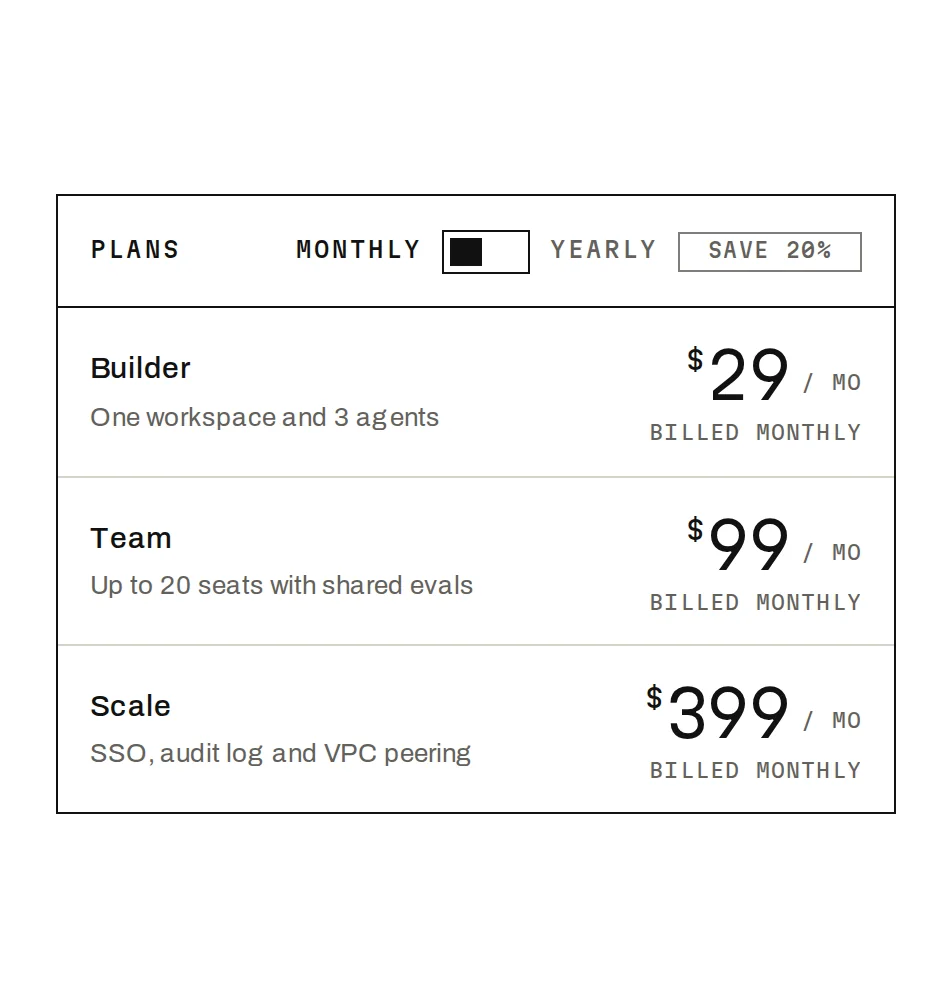
Segmented Control
Freev1.0.0Choose one of a few views or modes with a sliding selection; two sizes.
Build for your project
Code/install build
Usage
Import it and pass your content. The props that matter most are listed next.
Example
"use client";

import * as React from "react";
import { SegmentedControl } from "@/components/ui/notchset/segmented-control";

const ranges = [
  { value: "1W", label: "1W" },
  { value: "1M", label: "1M" },
  { value: "1Y", label: "1Y" },
];

export function RangeSwitch() {
  const [range, setRange] = React.useState("1M");
  return <SegmentedControl aria-label="Range" size="sm" options={ranges} value={range} onValueChange={setRange} />;
}
Props
options–{ value, label }[]The segments.
value / onValueChange–stringControlled.
size–"default" | "sm"40px (104px segments) or 28px (60px).
segment–numberA custom segment width.
fillfalsebooleanFill the container with equal segments that shrink with it.
Anatomy
- No primitive needed: one file serves both builds.
- Positions are computed, not measured: right on the first frame.
- The label strip inside the thumb moves with its left edge, so it stays still on screen.
SegmentedControldata-slot="segmented-control"The control.
Source
components/ui/notchset/segmented-control.tsx
Loading the code
Build for your project
Code/install build
Installation
Base UI
pnpm dlx shadcn@latest add https://notchset.dev/r/segmented-control.jsonRadix
pnpm dlx shadcn@latest add https://notchset.dev/r/radix-nova/segmented-control.jsonFree, no account or key. Use the command for your project's primitives: a radix-*, new-york or default style in components.json is Radix, a base-* style is Base UI. With the @notchset registry added, @notchset/<name> picks for you.
Install by hand
- 1. No extra packages: React and Tailwind CSS v4 are enough.
- 2. Copy the files to these paths (the source, or save them all as a .zip)
- components/ui/notchset/segmented-control.tsx
- lib/beautiful-ui/notchset/instrument.tsx
- lib/beautiful-ui/notchset/root.ts
- 3. No stylesheet needed.
- 4. Install what it builds on first: shadcn's cn helper (lib/utils.ts, from npx shadcn init), the theme foundation (its tokens and base styles)
Styles didn't apply?
The CLI adds the styles to the CSS file named in components.json (tailwind.css). Check that it points at your global stylesheet, that the project uses Tailwind CSS v4, and that the file is imported in your root layout. Installed by hand: paste styles.css into that file.
For coding agents
Give your coding assistant the Markdown guide instead of screenshots.
Use it for
- Switching a view or a range among a few equal options
Use something else when
- Navigation between pages: use Tabs or links
Mistakes to avoid
- Keep labels short: segments are equal and fixed
Agents find it by
- segmented control, tabs switch, view switcher, range picker, toggle group, Notchset
Where agents read it
- Guide for this component: https://notchset.dev/md/segmented-control.md
- Every component, for tools without MCP: /llms.txt
- MCP server:
https://notchset.dev/api/mcp(setup)
Behaviour
Keyboard
- ← / →
- Move
- Home / End
- First / last
Accessibility
- A radiogroup of real radio buttons with roving tabindex
- The thumb and its label strip are decoration
Motion
- Change
- The leading edge moves first, the trailing edge 80ms later (340ms); the label strip moves with the left edge, so colours flip at the edge
Responsive
- Fixed width (segments × count); scrolls with its container if too wide.
Performance
- Two transitions on one element.
Changelog
v1.0.0 · 2026-10-02
First release